How to do the Single-leg glute bridge
The single-leg bridge increases the demand on each hip without gym equipment. Earn the variation with a controlled two-leg bridge first.
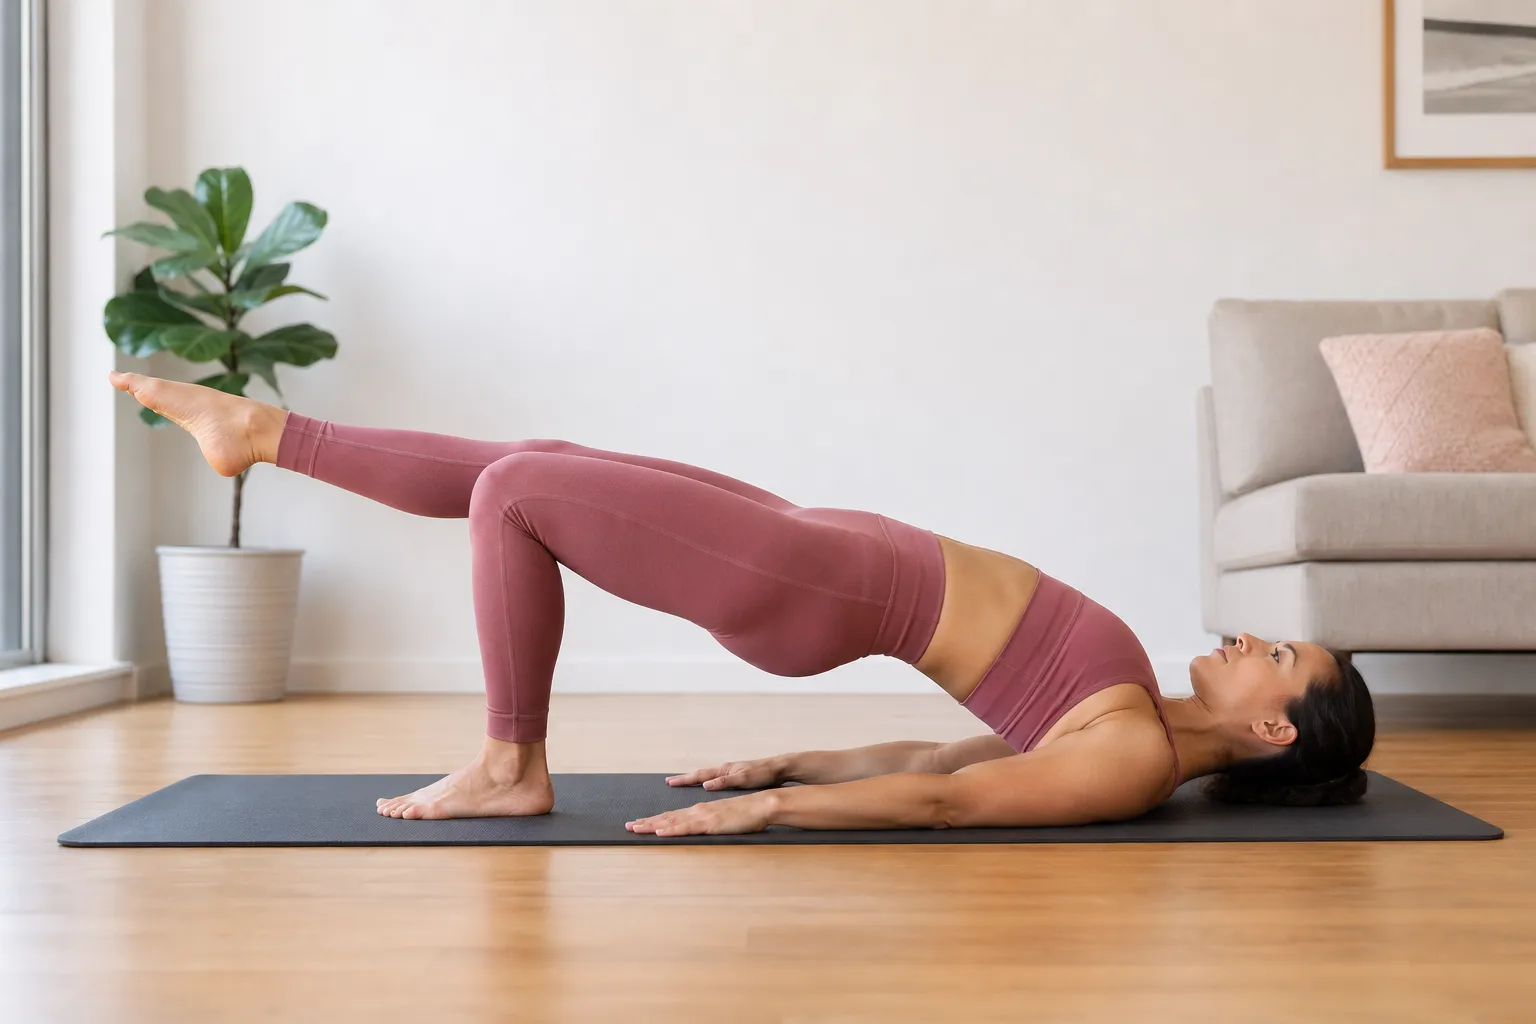
How to do it
- 1
Set a stable bridge position
Lie down with both feet planted and ribs relaxed.
- 2
Lift one foot
Bring one knee toward you without twisting the pelvis.
- 3
Drive through the planted foot
Extend the working hip while keeping the hips level.
- 4
Pause and lower
Hold briefly, then return with control before repeating.
Common mistakes and fixes
Pelvis rotates
Fix: Reduce the range or return to a two-leg bridge.
Lower back arches
Fix: Stop the lift when the hip finishes extending.
Hamstring cramps
Fix: Adjust the planted foot slightly and reduce effort.
Programming starting point
Start with 2–3 sets of 6–10 controlled repetitions per side. Add reps before adding external load.
Frequently asked questions
Is the single-leg glute bridge beginner-friendly?
It is best after learning the easier bilateral version. Regress if you cannot keep the pelvis controlled.
How many single-leg glute bridge reps should I do?
Start with 2–3 sets of 6–10 controlled repetitions per side. Add reps before adding external load.
Sources
- Resistance Training Prescription for Muscle Function, Hypertrophy, and Physical Performance in Healthy Adults — American College of Sports Medicine / PubMed (accessed August 2026)